This weekend was my sister’s 30th birthday, so I decided to make her a Chocolate Coke Cake. This is really suppose to be called a Chocolate Cola Cake, but I have a hard time remembering the word ‘cola’ because I call a Coca-Cola a ‘coke’. Deal with it.
This is pretty much a dense chocolate cake with a subtle hint of cola flavor with a chocolatey, cola glaze. This can be topped with peanuts, much like the flavor of salted peanuts in a coke (which is so good!), or pecans. I chose pecans because my nephew is allergic to peanuts.

Chocolate Coke Cake Ingredients:
2 c flour
2 c sugar
1 tsp baking soda
1/2 tsp salt
1/2 tsp cinnamon
1 c butter
1 c coca cola
1/2 c buttermilk
1/4 c unsweetened cocoa powder
2 eggs
1 tsp vanilla
Mix the flour, sugar, salt, cinnamon, and baking soda together. Set aside.

Mix butter, coca cola, buttermilk, and cocoa powder together in saucepan on the stovetop at medium-high heat until all the ingredients come to a boil.
Take saucepan off heat and let cool for a minute or two. Then pour liquids into the dry ingredient mixture and whisk until combined well. Add both eggs and vanilla. Bake at 350 degrees for 30 minutes.
While you still have 10 minutes left on your timer for your cake, start making the glaze.
Chocolate Coke Cake Glaze:
1/2 c butter
1/4 c coca cola
3 tbs unsweetened cocoa powder
3 c powdered sugar (confectionary sugar)

Mix butter, coca cola, and cocoa powder in saucepan over medium-high heat until the mixture comes to a boil. Take off heat and add powdered sugar. Whisk the mixture until it is smooth and heavenly.
Let the cake cool for about 10 minutes before you pour the glaze over. If you wish, top with the nuts of your choice!

I know that this cake will not last long as any event!!
With love, from Texas!
A while ago, I made the Grieving Cowboy Casserole and some of y’all asked for the recipe for it’s chicken sister. So, I made it!!! It’s called King Ranch Chicken and it’s made exactly like the other casserole, but with chicken instead of beef.
This casserole is a true Texas staple, taking the name of the largest ranch in the United States, which is 30 minutes from my hometown. This dish has been featured at many church potlucks, funerals, and if you’re lucky, you’ll find on the ‘special’ menu at a cafe in Texas.
King Ranch Chicken Casserole Ingredients:
4 boneless skinless chicken breasts, cooked
1/2 onion, minced
1 can cream of mushroom soup
1 can cream of chicken soup
1 can Rotel tomatoes
Dash of garlic
Dash of black pepper
3 cups monterey jack cheese

First, boil or saute your chicken and then shred it up into bite-sized chunks. Mix it with both soups, Rotel tomatoes, garlic, and black pepper.

Fry up corn tortillas until they’re soft and stack a layer on the bottom of an 8×11 pan. If you have leftover tortilla chips that may be a little stale, you can use these in place of the tortillas.

Next, layer half of the chicken mixture and then repeat with half of the cheese. Now, repeat so you’ll have two layers!

Bake at 325 for an hour, so the cheese and other flavors marry together.

I hope your family enjoys this dish as much as my family and I enjoyed it!
With love, from Texas!
The only reason I like having or attending get-togethers is for the food. I love hors d’oeuvre and dessert as my actual meal, of course.
I was invited to a girls night thing at a friend’s house this weekend and I knew this was a perfect time to make these cute little hand-held desserts that I’ve been having my eyes on. Peanut butter cookie cups with a ton of Nutella inside. These are perfect for a party because guests can grab one and walk around with it and who doesn’t love Nutella?!?! Also, this dessert can be very simple, in case you don’t have much time to prepare before the party.
The cups can vary, according to your preference. You can use any cookie as your base, homemade or store bought, and put any kind of candy or other dessert-y goodness inside. I think chocolate cookie base with a miniature Reeses cup inside would be delightful.
You Got Nutella in My Peanut Butter Cups Ingredients:
Peanut butter cookie mix (like in powder form)
2 tbsp oil
3 1/2 tsp water
1 egg
Nutella

First, mix your cookie mix with the egg, oil, and water. Then put a spoonful in a muffin tin that is lined with cupcake liners. Bake at 350 for 15-17 minutes or until they’re nice and golden on top. Now, we’re going to make our little wells. Once the cups have come out of the oven and they’re still hot, take a shot glass and press down so that a well forms in each cup. Easy, huh?!

Here’s the fun part. Spoon the Nutella into the cup. You can put in as much or as little as you want. The Nutella will get all warm and gooey, but resist the urge to eat them yet :). You need to save some for others!

Everyone at the party LOVED these cups and most people ate two, but I won’t say who ;).

Now, go get the ingredients right now, plan a party for yourself, and make these cute little things!!
With love, from Texas!
When I go out to eat, I would rather not order appetizers. Not because I don’t like them.. Ha, who am I kidding?! I love any food. But I would rather fill up on savory foods, like entrees, and sweet foods, like desserts. With appetizers, it’s usually just savory and savory and I get BORED. There is an exception though.
Whenever I go to Chili’s, I love ordering their Southwestern Eggrolls. They’re crispy little things stuffed with chicken, black beans, corn, spinach and served along side a yummy helping of avocado ranch.
Last Saturday, I went over to my sister’s house for my nephew’s 2nd birthday party. He was having a fiesta-themed party, so I decided to recreate these eggrolls for la fiesta! I made them the night before and just popped them in the oven right before the party, so it didn’t take anyone’s time away from partying ;). Everyone raved about them though and I was really hoping I would have made more…. For myself!
Baked Southwestern Eggrolls Ingredients:
Can of black beans, rinsed and drained
Can of yellow corn, drained
Half red bell pepper
Can of chopped green chiles
4 green onions
2 c cheddar cheese
2 tsp salt
2 tsp pepper
1 tsp cumin
1 1/2 tsp chili powder
48 Wonton or 24 eggroll wrappers

So, the original eggrolls call for a 10 oz package or thawed and squeese-dried frozen spinach, but my nephew is allergic to spinach so I replaced that with the bell peppers. First things first, slice the green onions and chop the red bell pepper to little pieces. Then, add all of the ingredients, sans wrappers, in a bowl and mix together.

Looks so beautiful and fresh and vibrant, right?! I know.
Now, we’re going to make our eggrolls. I used won ton wrappers because that’s all my grocery store had, but you can use eggrolls also, just use more filling of course. First, lay your wrapper on a plate, dab your finger in water and run it along all sides of the wrapper. Next, put about a tablespoon of filling in the middle.

Next, fold the bottom corner in so that it is on top of the filling and then pulling over the right side of the wrapper on top of the bottom. Seal the little edges if you see an opening.

Now, repeat the other side of course and roll that baby on up!!! After you have finished rollin’, press the end so that it sticks and stays shut.

Voila! Now you have learned how to roll an eggroll and you don’t have to waste all of your money at Panda Express.. ;).

Spray the bottom of your cookie sheet with pam, lay your eggrolls down, and then spray the tops of the eggrolls with pam so that they crisp up. Bake for 12-15 minutes, turning the eggrolls one throughout the cooking process.

You can serve these eggrolls with queso, salsa, guacamole, or make ranch dip like me with some mashed up avocados.
With love, from Texas!
Butter. Butter. Butter. Biscuits swimming in butter. Doesn’t get any better, right?! If you are Paula Deen Jr., you will be in love with these biscuits! I think my heart and arteries cried a little after this, but it’s not like these are to be eaten every single day.
This recipe requires no special ingredients or baking techniques, but it tastes like it’s what they’ll be bakin’ in Heaven!
Butter Swim Biscuits Ingredients:
2 1/2 c all-purpose flour
4 tsp baking powder
4 tsp sugar
2 tsp salt
1 3/4 c buttermilk
1 stick unsalted butter

This recipe is pretty simple. First, mix all of the dry ingredients together (flour, sugar, salt, and baking powder) and stir until they’re evenly combined.

After all the dry ingredients are mixed well, add the buttermilk. If you do not have buttermilk on hand, you can make your own by mixing 2 c regular milk with 2 tbsp white vinegar or lemon juice and let stand for 5 minutes. Of course, you’ll only use 1 3/4 c though.

Now, mix all of the ingredients together until they form a ball.

Next, melt the stick of butter in a microwave safe bowl and pour it into the bottom of a 9×9 pan. Then, add your dough and press it out until it reaches the sides of the pan. You’ll want to cut the biscuits so that you come out with 9, then you may have to go over them again. They turn out really rustic :).

Bake at 450 for 20-25 minutes until they’re nice and brown on top. Next, eat ’em up with some jelly, jam, or honey!!!

Good luck not eating the whole pan ;).
With love, from Texas!
So, I’m a little weird… If you haven’t figured that out yet. I hate the thought of someone I don’t know waking up, not taking a shower, and cooking food for me like at a restaurant. People have weird morning gross-ness and I’m always afraid they’ll ‘contaminate’ my wonderful breakfast. To make sure that I know my food isn’t contaminated, I make my own breakfast.. LIKE THESE AWESOME CINNAMON TOAST MUFFINS!
I’m 99% positive you have all of these ingredients in your pantry, if you’re any type of cook at all.
Cinnamon Toast Muffins Ingredients:
2 c flour
1 tbsp baking powder
1/3 c sugar
1 egg
3/4 c milk
1/3 c oil
Topping:
1/4 c sugar
1 1/2 tsp cinnamon

First, preheat your oven to 350! Mix all of your muffin ingredients together: flour, sugar, oil, milk, baking powder….. ALL OF IT! I used 1/2 whole wheat and 1/2 all purpose flour for my muffins, but you can use whatever you like. Next, mix your topping together, which consists of sugar and cinnamon. Put it to the side, we’ll do something with this later!!!

Mix it all together, once you have everything in your bowl. It’s pretty easy, I’m telling you!
Now, grease a muffin tin or add muffin liners. Add about a spoonful of mix to each muffin slot, but make sure you only fill the slot up halfway. Then sprinkle the cinnamon sugar topping on the dough, then repeat ! Put in another spoonful of dough on top of the other dough and sprinkle some more topping, so it’s kind of like a layered muffin.

Ahhh, delish! Now, we have to bake these babies for 13-15 minutes. I think you can wait that long.

This photo isn’t the greatest, but you can see how the cinnamon sugar topping caramelized. Tasty, tasty, tasty!
With love, from Texas!
So I know that almost all of the recipes on this blog are Mexican food, but really I’m from deep south Texas and down here, we thrive off of Mexican food… and Whataburger.
These little babies are sometimes called taquitos but those are usually served as an appetizer and flautas are actually served as a meal. I love this dinner and would probably order it every time I went to a restaurant that offered them, but they’re almost always made with dark meat. I was raised in a white meat chicken family and I am too scared to try much else ;).
Chicken Flauta ingredients:
3-4 chicken breasts
2 c. shredded cheddar cheese
1 tbs. cumin
12 tortillas
Oil to fry tortillas
To make your yummy flautas(or flutes, in English), boil chicken breast and then shred the breasts after they have cooled so you don’t burn your little digits. Add a generous amount of picante sauce, which is usually chunkier than hot sauce, and a tablespoon of cumin.

Sat the chicken mixture aside and heat up a pan of oil to fry corn tortillas in. Drop the tortillas in, one by one, and let them soften by frying them about 10 seconds on each side.

Lay your tortillas out and fill them with a handful of shredded cheddar cheese and a spoonful of the chicken mixture. Roll those babies up and secure them with a toothpick.

Lay the flautas side by side and bake them on a cookie sheet or baking pan at 350 degrees for about 10 minutes. You’ll know they’re done when the edges are crispy and crunchy.

You can pair these with anything you would like, but my favorite thing to do is mix some refried beans and guacamole together and scoop them on the flauta after every bite :).

I have just recently moved, so I had to use my fine paper plates to serve my dinner on. Classy, eh?!
With love, from Texas!
 So, sometimes I have huge blonde moments. This hair color is somewhat natural, so I blame it on my genes. A few years ago when I was still living in Corpus Christi, a friend of mine was telling me he use to work at Churchs so he would also be allowed to bring home fried chicken at the end of the day. I was thinking churchs, like buildings where Christian’s gather to worship the Lord. I was kind of confused but then I thought, “well, every time I go to a funeral, people always bring fried chicken to the family, so I guess that is what he was referring to.” I felt really dumb when he told me that he meant he use to work at Church’s Fried Chicken. That is probably why we don’t talk much anymore.. HA!
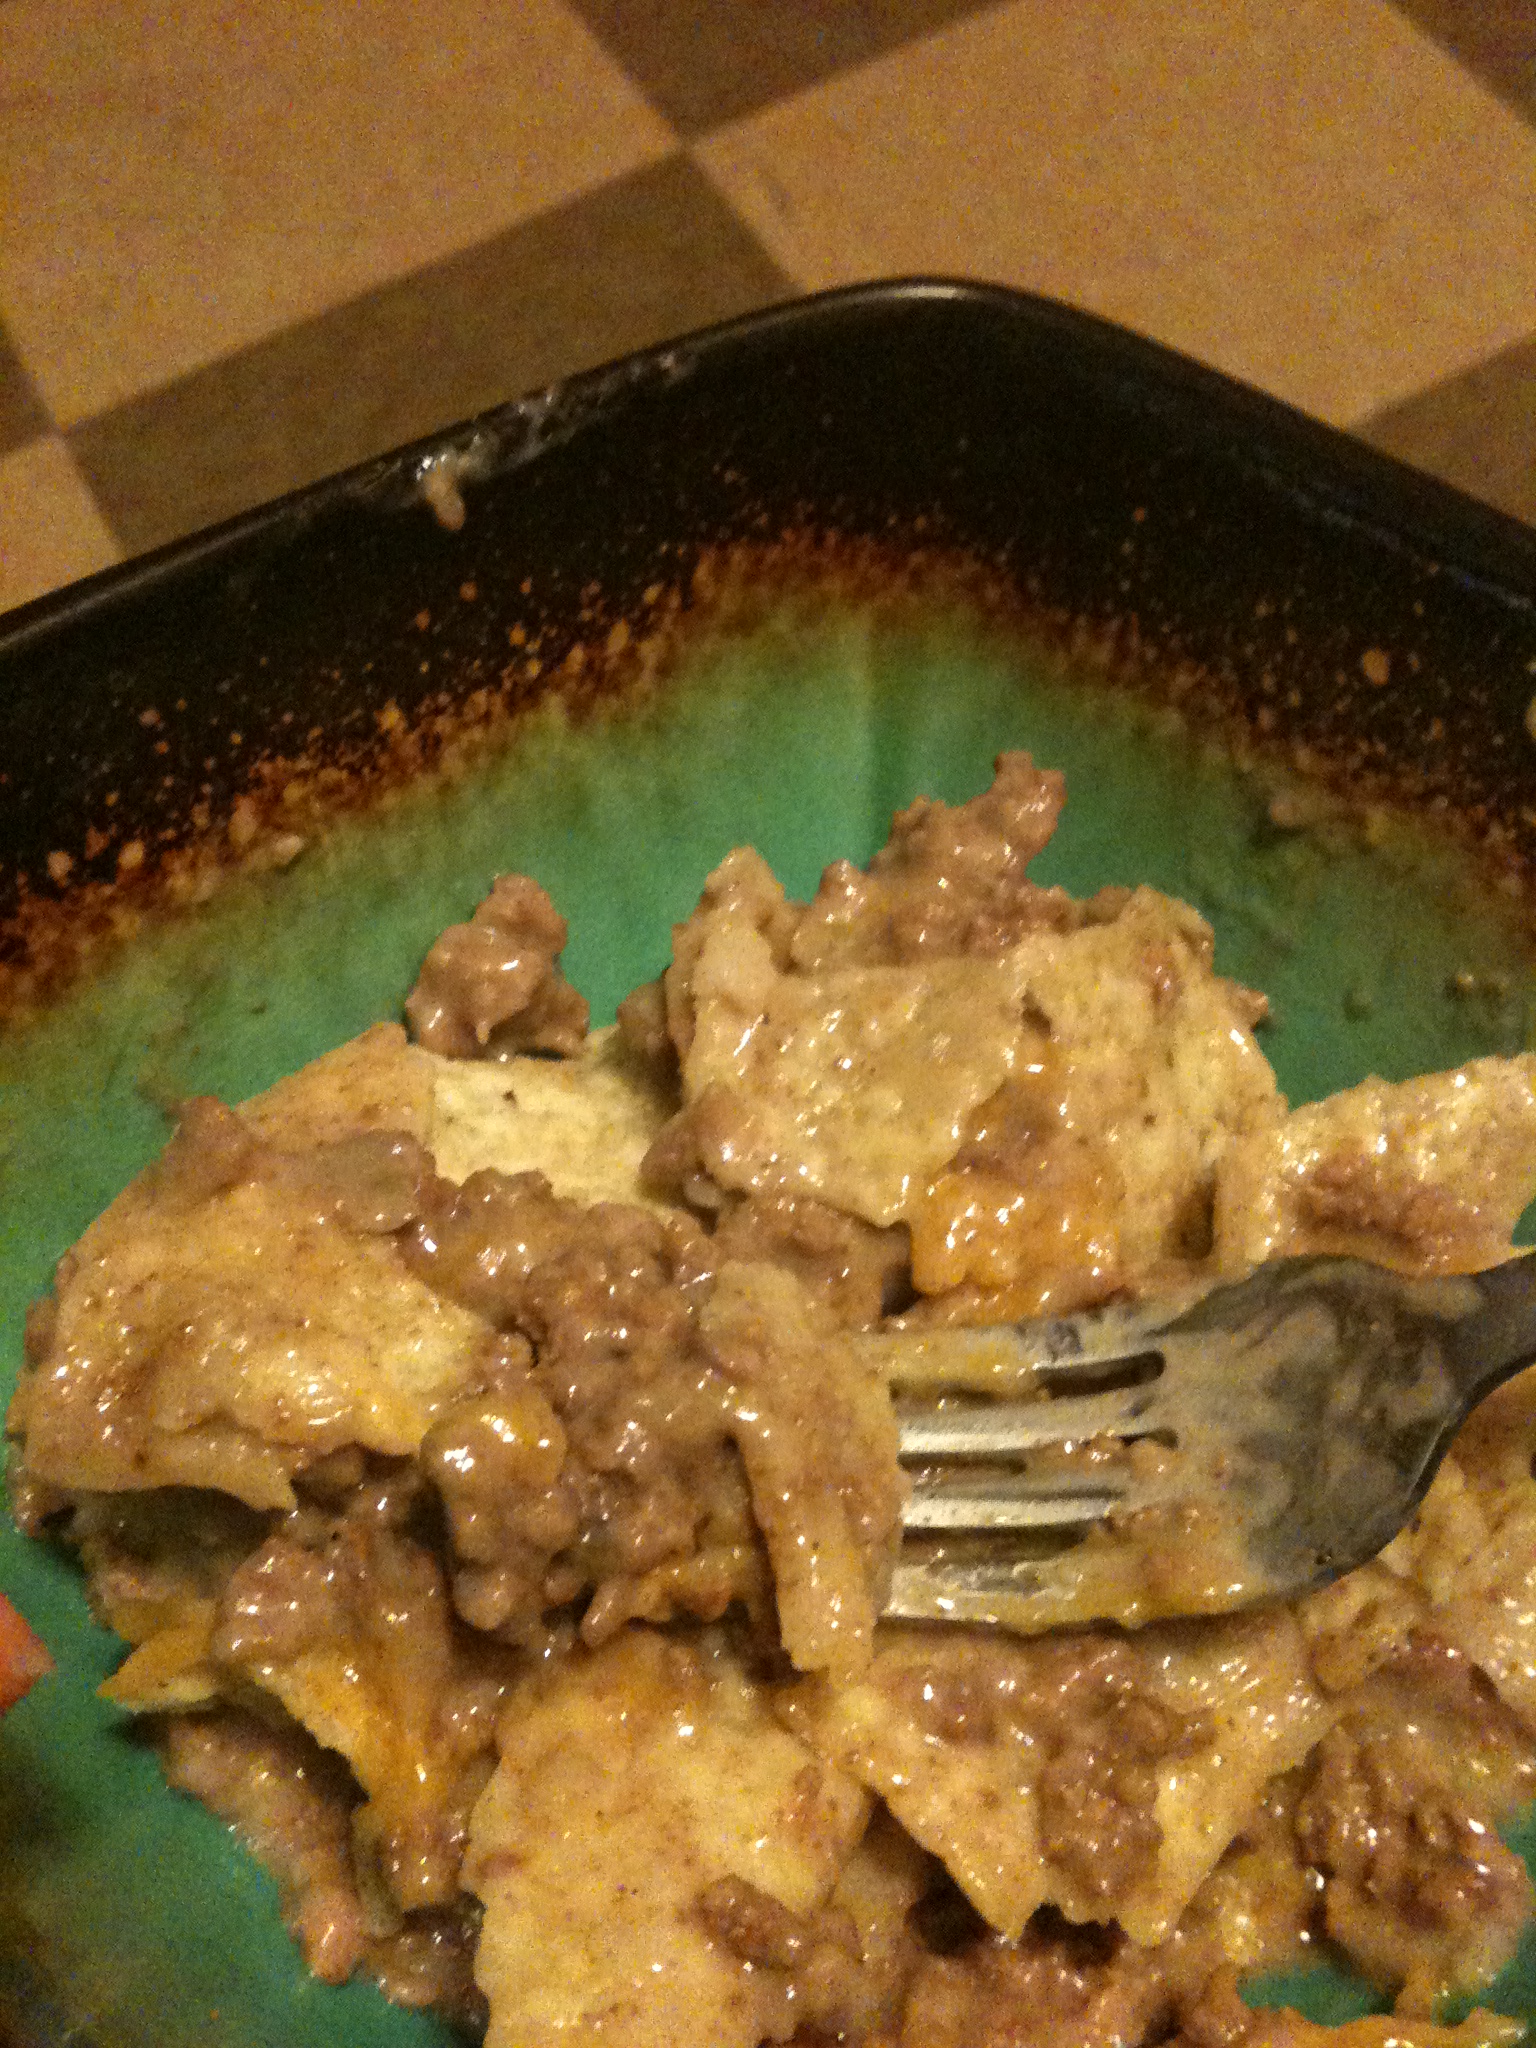
When my grandpa passed on in 2009, my granny from my dad’s side made this casserole that is way too dangerous. I ate about half the casserole that day and I was so miserable for the rest of the day. My granny called it “Grieving Casserole” because she always brought it to people when a family member passed on. The casserole is pretty much like King Ranch Chicken casserole, but with ground beef instead of chicken. This casserole embodies Texas food: tortillas, beef, and Ro-tel.

This recipe is easy and fairly cheap. First, brown a pound of ground beef with diced onions, cumin and salt and pepper to taste.

After you have browned the beef, drain it and put it into a bowl. Mix in a can of cream of mushroom soup and half a can of Ro-tel tomatoes. You can buy any kind of Ro-tel that you like, but I prefer chunky.

Now, we’re almost done and ready to enjoy our cheesy, creamy, Mexican food! Layer a lightly-greased loaf pan with crushed up corn tortilla chips until it covers the bottom of the pan. Then, dump half of the meat mixture on top and then shredded cheddar cheese on top of that. Then, repeat so that now you have 2 layers of each! Bake at 350 for about 10 minutes or until the cheese is warm and bubbly.

You can top this dish with anything that your little heart desires such as shredded lettuce, chopped tomatoes, sour cream, more cheese, green onions, or just eat it plain and easy.

I like to keep a little meat on my bones, so I added a little dollop of sour cream ;)! I hope you enjoy this easy, affordable dish.
With love, from Texas!
So, tomorrow I will be helping out with research for the Parenting Center in Ft Worth.. AND I AM SO EXCITED! That sounded really nerdy of me, but really, how many undergrads (especially in family studies) get to do research with their professors and put it on their resume?! Not many! In the program that I am in, many women are in it because they are already engaged and want to be a stay at home mom; these are the type of women that drive me crazy because they give our degree a bad name, like the MRS degree. Then, there are other women that picked the program because it sounded easy and fun. Lastly, there are a few of us who actually love the field of family studies and want to learn more about us.. I somehow ended up in that cluster ;)!
While at the Parenting Center, they told me and two of my best friends to bring lunch. Being the mother hen of the group and the person that loves to cook, I decided to bring lunch for all of us which will consist of pizza and Chocolate Chip Lava Muffins. I’ll give you a second and close your mouth and wipe the drool off of your keyboard.
Okay, so these little cutie pies are basically thick, hearty chocolate chip cookies stuffed with chocolate chips and then if you’re totally rebellious like me, you will top them with some ice cream.

First, you will need to make a batch of chocolate chip cookie mix from your favorite recipe. I used the always-trusty Nestle chocolate chip cookie recipe from the back of their little bigs, but I quartered it so I would only make 3 muffins for us. You can also use store-bought cookie dough, but I think homemade is always worth it.

Grease the lining of your muffin tin VERY well with oil or crisco so that these babies will just pop right on out. Fills the tins with about a tablespoon of dough and then drop in about a tablespoon of chips, trying to aim them towards the middle of the cookie dough

Cover the chips with another tablespoon of dough, making sure that the chips stay in between all of that doughy goodness. Bake at 350 for 15-20 times, depending on how thick your muffins are. Wait until the muffins are completely cool and then you can pop them out of muffin tins, which should be fairly easy.

So, so, so, so, so, so, so tempting!!! Am I right?

If you want to be cool, like me, heat the cookies up in the microwave for 10 seconds and top them with yummy Blue Bell ice cream! Vanilla bean ice cream would also be out of this world, but I’m in Texas and Blue Bell was all I could find! HA!

I wish I could relive this moment….

Even cute little dogs come a-runnin’!!!
A few months ago, my sister gave me a little Crockpot that I was so excited about. I looked up so many recipes to make in my Crockpot, but my sister and mother rained on my parade and told me that this little one is only made for keeping dips and quesos hot. But this morning I had this huge craving for chicken tacos and the best way I have had chicken tacos makes the chicken meat in the Crockpot. Since it was jut me for dinner today, I figured I could make a small version of Crockpot chicken tacos… IT WORKED OUT PERFECT!!! This recipe is so easy, but beware: you will need tons of napkins because it is so dang messy. But usually the messier the meal=the tastier the meal!
These are all the ingredients that you will be using:

The recipe calls for taco seasoning, but I did not want to waste money on that so I just made my own little seasoning that consisted of black pepper, salt, chili, garlic, chopped dehydrated onions, and quite a bit of cumin. I did not measure this but it it would probably be about a teaspoon of each spice, but go a little overboard on the cumin. You will also need about a half cup of picante, like Pace’s that I used and 3 strips of chicken breast tenderloin. Now, here’s the hard part … Throw everything in your little Crockpot!!

This will take about 3-4 hours to cook! About 30 minutes before it is done, shred the chicken using two forks so that the sauce will cover allllll of your chicken.

Delish, right?!?! You can wrap this baby up in a tortilla and top it with whatever you like such as cheese, guacamole, sour cream, tomatoes, tomatillo sauce, and lettuce. I love guacamole on mine, but my avocados were bad 😦 , so I just topped it with sour cream and cheese! Hope that you and your family find this recipe to be easy, yummy, and messy.
With love, from Texas!
